How to containerize your React App with docker-compose
In this article I am going to show you how I containerized a React application so you can do the same using Docker and docker-compose.
I am going to assume that you have Docker installed in your computer. If not you can follow this link to install it in your machine.
Once it is installed, let's go on with the project.
(If you want to containerize your own React app, please skip to step number 2)
1 - Create the app
First create the app by navigating to the folder you want the app to be stored, in my case ./my-site-react and run npx create-react-app . (don't forget the DOT at the end of the command to install it in the folder you are in) 😅
This will create the app with the most often used boilerplate for React apps. Once the installation has been completed, run npm start to spin up the local server.
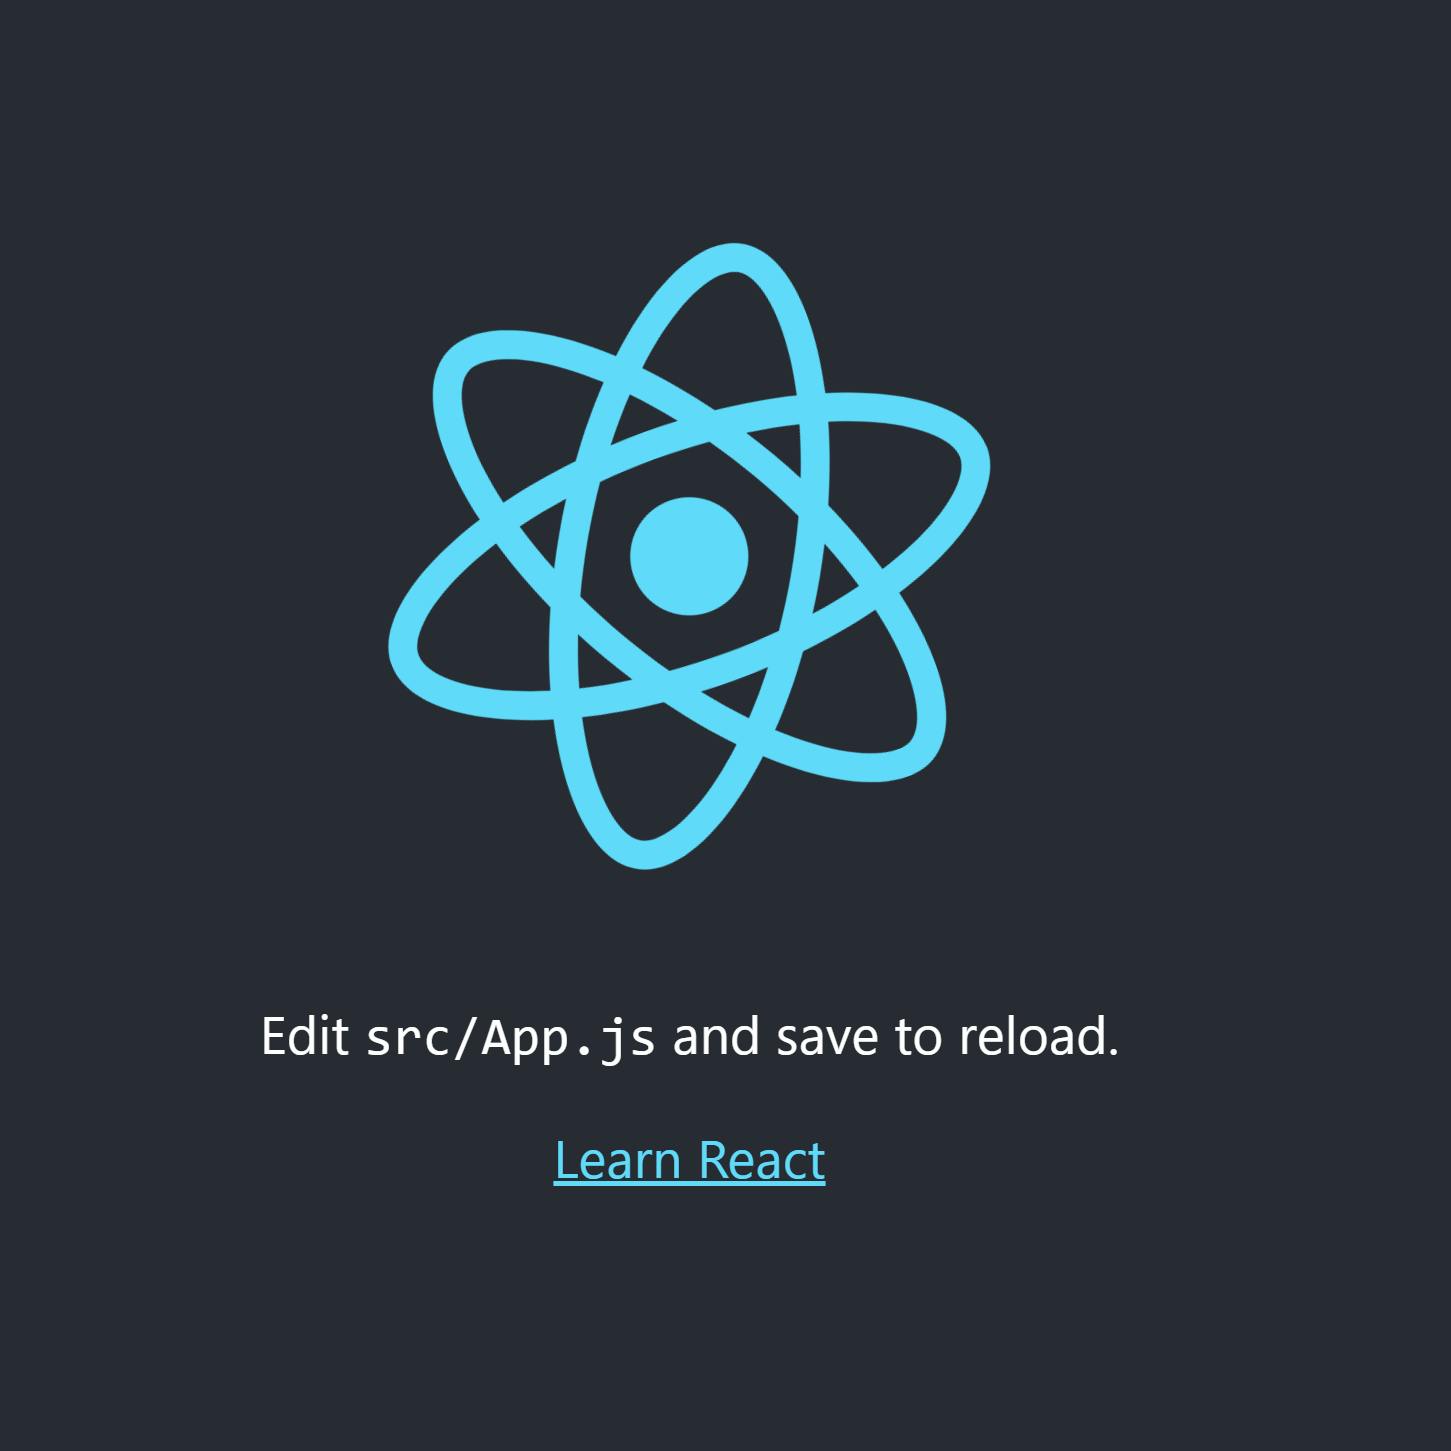
If you navigate to localhost:3000 and the image bellow shows up, we are in the right direction 🎉

Now we have tested its working, please stop the server as we are going to use the same port in our containerize app.
2 - Create the Docker image
Once we know our React app works, either the boilerplate created in the step #1 or your own app, we need to create the Docker image that would be the base for our container.
These concepts of images and containers can be a bit difficult to grasp initially. It was definitely for me. But once you understand them, they will stick.
A way that helped me figure it out is relating them with objects and classes.
In the same way that a class creates an object, the image create the container. Also, the object can take few shapes depending on the specific characteristics given by the class, the container can run with different configurations.
Anyway, you need an image to containerize your app. To create it, you need a set of instructions that are usually within a file called Dockerfile In this Dockerfile, there are a few commands that will make the job for us.
#Dockerfile

FROM node:15.2-alpine

# set work directory
WORKDIR /app

# add node_modules/.bin to the $PATH
ENV PATH $PATH:/app/node_modules/.bin

# variable to enable hot reloading
ENV CHOKIDAR_USEPOLLING=true

# install dependencies
COPY package-lock.json ./
COPY package.json ./
RUN npm install

# add app
COPY . ./

# start app
CMD ["npm", "start"]
In a nutshell, we are taking a node image, and adding to it a few instructions to make it run with our React dependencies.
One file that can speed up the process of creating the image is .dockerignore It works the same way as .gitignore as it will ignore files within your code that are not necessary to create the image.
In this case, node_modules and the build folder are not required so we create a dockerignore file as shown below.
node_modules
build
.dockerignore
Dockerfile
Once we have the Dockerfile and the dockerignore files in our project folder, we run docker build . -t my-site-react (don't forget the DOT!)
This command will create the image, pulling the node image from docker hub repository and installing our project dependencies to it. Once the process finishes, we have our image ready!

We can test if our image is working with the following command:
docker run -it -d --rm -v ${PWD}:/app -v /app/node_modules -p 3000:3000 --name my-site-react my-site-react
Note ${PWD} might only work on Linux and Mac. Windows users go to step #3
Now, if everything worked as expected, you should see in the terminal a long string of letters and numbers. That's good! And if you navigate to localhost:3000 you should see the starter React page (or your app) but this time is served via the container!

To stop the container run docker stop my-site-react
Create docker-compose file
Now that we have all up and running, (hopefully) you might wonder, why we need docker-compose? 🤔
Well, with docker-compose, we create the same container, but instead of passing all the configurations values to the command line, we encapsulate this configurations in a file. This is good if we want consistency across our environments, share the file with a colleague and also to save time.
We would just need to run a much smaller command and it will create the same container with the volumes and ports needed for us to develop our application. (and the hot reloading 👌🏻)
Below is the docker-compose.yml file that we are going to use
version: '3.7'

services:

  my-site:
    container_name: my-site
    build:
      context: .
      dockerfile: Dockerfile
    volumes:
      - '.:/app'
      - '/app/node_modules'
    ports:
      - 3000:3000
    environment:
      - CHOKIDAR_USEPOLLING=true
Once this is in your project you can run docker-compose up -d to start your container (in detach mode to keep it running until we tell them to stop) and again, you should see you app running, this time via docker-compose.yml file.
To check that everything is working as expected, again, navigate to localhost:3000, making sure you have stop the previous container.
Now you have your app running in a container, you can keep developing on it, like if it were running with npm start.
To stop docker-compose use docker-compose down this will stop and remove the container and networks, volumes, etc. created by up.
One caveat that I would like you to be aware is, if you install new packages, you will need to stop the container, create a new image and spin up the container again.
Finishing up
Today we have learned to create images from React projects, run containers of of them and create a docker-compose files to spin up container with all the configurations inside.
I hope you have found this useful. Please leave a comment below if you want more information about any of the steps. I didn't want to make the article long so I skip few parts.
Also, if you'd like, you can follow me on twitter here and see what I am up to in github here
The repo for this project can be found here
Thanks for reading! 💜 See you soon!
